Chapter 2 Registration and Login
This chapter will instruct users on how they can register for a new Opencontour account or login to their existing account. It also instructs users on how they can manage their licenses within their company.
Video: Software Setup for New Users
Quick Access
2.1 New User Registration
For new user registration, follow the instructions below.
-
In your browser, type in the following web address: http://portal.opencontour.com/login. The Opencontour login page will appear.
Opencontour Login Page
-
Click Sign-Up. A new window will appear.
-
Provide appropriate details for new users in the following fields:
Field Name Description First Name The user's first name. Last Name The user's last name. Phone The user's phone number. Email Email address that will be used for communication. Password Enter a new password. It must be at least 8 characters long. -
Click Next.
-
Read Terms of use and click "Terms of Use" checkbox to accept it.
-
Click Register Account!.
The Opencontour Support Team will then verify the account, and send out an email to the user notifying them of their account activation.
2.2 Existing User
Existing users who already have a User Name and Password can enter them on them on the Opencontour login screen.
2.3 Reset Password
If a user forgets their password, they can request to reset their password.
-
Click Forgot Password.
-
Enter the email associated with the account, then click Reset Password.
A verification email with a link to reset the password will be sent to the registered email address.
2.4 Selecting a License
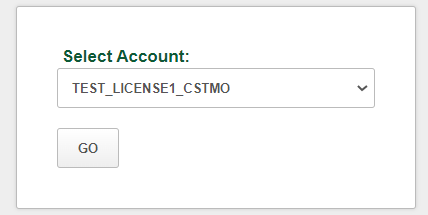
Once the existing user has logged into their account, they will be prompted to select a license from a dropdown menu within the window. The user's default license will always be the first option in the dropdown.
License Selection Dropdown
After selecting the license of their choosing, a user will be able to see the license in the upper right-hand corner of the Project Dashboard
Project Dashboard License Display

2.4.1 License Naming Convention
Opencontour license names are set up to contain the following information:
- Company Name
- License Number
- Offered Modules
The tables below will explain the syntax of the licenses, as well as offer several examples of what a sample license may look like in Opencontour:
License Naming Conventions
| Abbreviation | Module(s) |
|---|---|
| _C | Core (Includes Vertical Extraction) |
| _S | Schedule |
| _ST | Stacking |
| _MO | Model |
| _ALL | All Modules (Excluding Demo) |
| _D | Demo |
Example Licenses
| License Example | Description |
|---|---|
| TESTCOMPANY_LICENSE1_CST | Test Company, 1st License, Core and Stacking |
| TESTCOMPANY_LICENSE2_ALL | Test Company, 2nd License, All Modules |
| TESTCOMPANY_LICENSE3_DS | Test Company, 3rd License, Demo and Scheduling |
2.4.2 Managing Multiple Users on a License
If a user logs in and there are multiple licenses already being used by other users of the company, the dropdown menu might look something like this:
In-Use Licenses

From this point, the user can do one of two things:
-
Select an available license from the dropdown menu and continue logging in as normal.
-
Select an in-use license and kick another user out of their project.
If the user decides to go the second route, they can select the in-use license from the dropdown and continue to their Project Dashboard. The other user who has been logged out due to this action will receive the following message:
Kill Sessions Pop-Up Notification
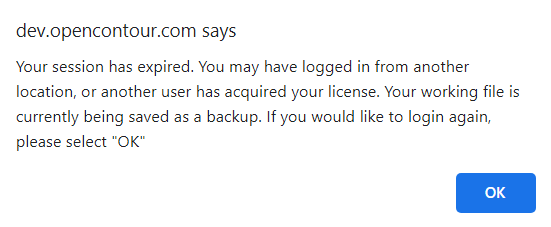
As the message describes, a working all.json file should be automatically saved out of the project upon viewing this message.
NOTE: A single license can support multiple instances of Opencontour open within the same browser, but if the user would like to open additional instances outside of the first browser, they will need to log in to a separate license